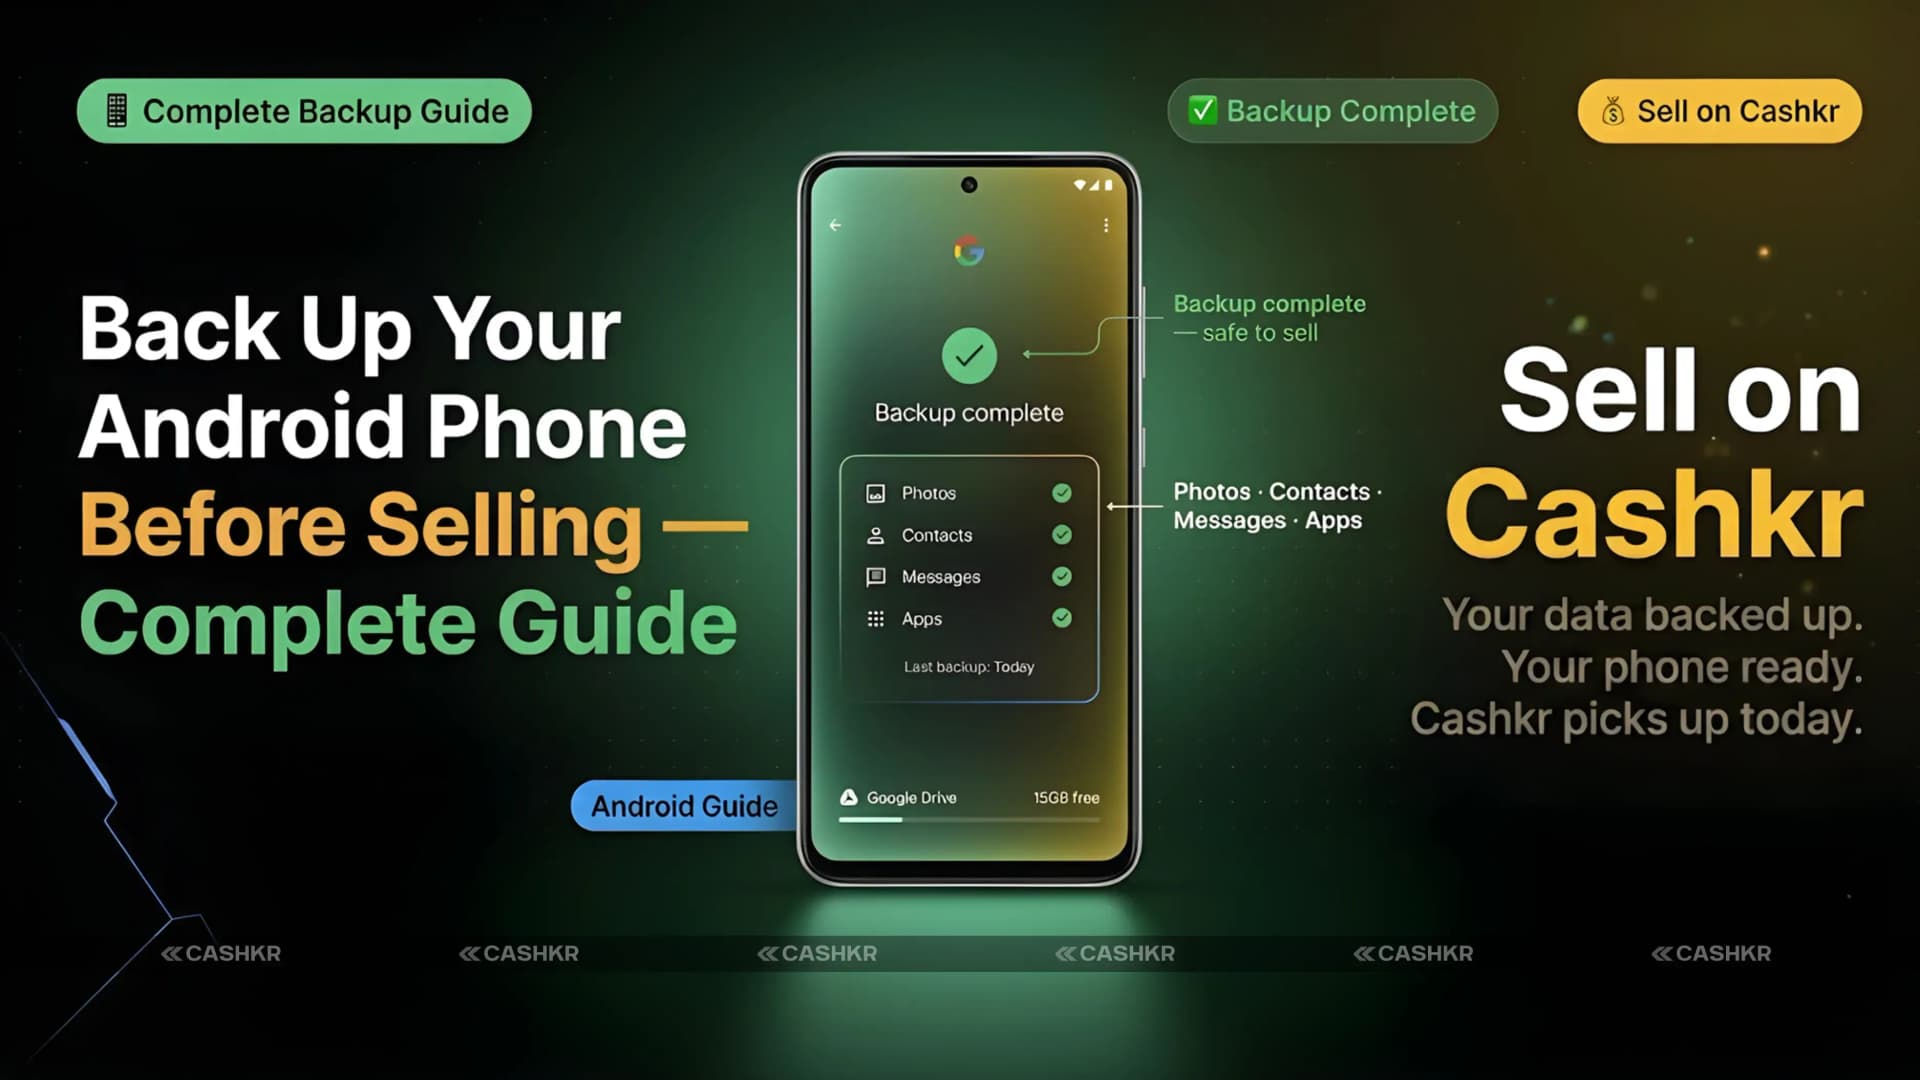
How to Back Up Your Android Phone Before Selling: Complete Step-by-Step Guide for 2026
Many users overlook backing up their Android phones before selling or upgrading. Skipping this step can result in permanent loss of photos, WhatsApp chats, passwords, and 2FA codes.
This guide walks you through each backup step, explains why each one matters, and shows what can happen if you skip any. If you follow these instructions before resetting your phone, you’ll be able to restore all your data on your new device.
Once you’ve backed up and reset your phone, you can sell it easily with Cashkr, an Indian platform for selling electronics. Cashkr gives you an instant price, free doorstep pickup, certified data wiping, and pays you directly to your UPI or bank account. Their team checks that your phone is reset and has no accounts left, so the sale goes smoothly.
This guide covers: Google Backup for contacts, settings, and apps; Google Photos for pictures and videos; WhatsApp chat backup to Google Drive; exporting authenticator app accounts for 2FA codes; manual backup of downloads and documents; password sync confirmation; notes and extras; account removal; factory reset; and final verification before handover.
Step 1: Sync Everything to Google Backup
Google Backup is essential for transitioning to a new Android phone. When enabled, it saves your contacts, device settings, call history, SMS messages, app data, and Wi-Fi passwords to your Google account, and restores them automatically when you sign in on a new device.
Step 1. Open Settings on your Android phone. The typical path is Settings, then Google, then Backup, though this may vary by brand.
Step 2. Turn on Google Backup if it is not already enabled. If it is on, ensure the items listed below are included in the backup.
Step 3. Confirm these items are included in the backup. Contacts, device settings, call history, SMS messages (if supported on your phone), apps and app data, and Wi-Fi passwords. All should be toggled on.
Step 4. Tap Back Up Now. This forces an immediate sync rather than waiting for the next scheduled automatic backup. Wait until the sync completes before moving on.
How to check when your last Google Backup ran: In the Backup settings screen, you will see a timestamp showing when the last backup completed. If it shows a recent time and all items are included, your Google Backup is current. If the last backup was days ago, tap Back Up Now and wait for it to finish.
Step 2: Back Up Photos and Videos to Google Photos
Losing photos and videos is what most people regret the most. These include years of memories, important receipts, screenshots, and documents you’ve photographed. Backing up everything to Google Photos before you reset your phone keeps all of this safe.
Step 1. Open the Google Photos app, make sure you are signed in with the Google account you want to back up.
Step 2. Tap your profile photo at the top right, then tap Photos settings. This takes you to the backup settings for your account.
Step 3. Tap Backup and make sure the toggle is on. If backup is off, turn it on. The phone will begin uploading photos and videos to your Google account.
Step 4. Choose your preferred backup quality. Original quality preserves photos exactly as the camera took them, but uses more Google storage. Storage saver compresses photos slightly and is free within Google's storage limits. Both options are acceptable for most users.
Step 5. Wait for backup to complete before proceeding. Google Photos shows a progress indicator when backup is running. Do not factory reset until the backup shows as complete.
Check your WhatsApp images folder separately: By default, Google Photos backs up your camera roll, but may not include WhatsApp images and videos, which are stored in a separate folder on your phone. In Google Photos settings, look for the Backup device folders option and confirm the WhatsApp folder is included. WhatsApp media is a common gap that causes images to be lost after a factory reset.
Step 3: Back Up WhatsApp Chats to Google Drive
By default, WhatsApp chats are saved only on your phone and aren’t part of the usual Google Backup. If you miss this step, all your WhatsApp conversations will be deleted during the factory reset and can’t be recovered. This is one of the most important steps, but it’s also one many people forget.
Step 1. Open WhatsApp and go to Settings. Tap the three dots in the top right corner and select Settings.
Step 2. Go to Chats, then Chat Backup. This takes you to the WhatsApp backup settings screen.
Step 3. Confirm the correct Google account is selected. WhatsApp backs up to Google Drive using a specific Google account. Make sure this is the same account you will sign in to on your new phone;; the backup will not be findable during restore.
Step 4. Toggle on Include Videos to back up video messages. Video files are large, so this will use more Google Drive storage, but is recommended if you want a complete chat history including video messages.
Step 5. Tap Back Up and wait until it completes. The backup progress shows on screen. Do not close WhatsApp or turn off the screen during backup. Depending on your chat history and internet speed, this can take anywhere from a few seconds to several minutes.
WhatsApp chats cannot be recovered without this backup: Unlike photos and contacts, which can be backed up through multiple routes, WhatsApp chats are backed up only through this specific step. Skipping it means all your chat history with family, friends, and work contacts is permanently gone after the factory reset. There is no recovery option once the phone is wiped.
Step 4: Export Authenticator App Accounts (2FA Critical)
This is the step people forget most often—and regret the most. If you use Google Authenticator, Microsoft Authenticator, or any other app for two-factor codes to log into email, banking, social media, or work accounts, make sure to export or transfer these accounts before you reset your phone.
Once you reset your phone, the authenticator app is wiped from the old device. If you haven’t exported your accounts, you won’t be able to generate the 2FA codes you need to log in on your new phone. Getting back into your accounts can take days or even weeks, and sometimes it’s not possible at all.
For Google Authenticator: Open the app, tap the three dots, then Transfer accounts, then Export accounts. This generates a QR code that you scan on your new phone using the same app to import all accounts. Do this transfer to your new phone before factory resetting the old one.
For Microsoft Authenticator: Open the app, go to Settings, then Backup, and enable cloud backup. This saves your accounts to your Microsoft account so they can be automatically restored on a new device.
For other authenticator apps, check whether they support cloud backup or account export. If it does not, note down the setup codes for each service (sometimes called secret keys or backup codes) so you can re-add each account manually on the new phone.
Do this transfer while you still have both phones available: The safest approach is to set up your new phone and transfer the authenticator accounts to it before factory resetting the old phone. That way you can verify the codes work on the new device before wiping the old one. If you no longer have the old phone, contact each service's support team to recover access using their backup code process.
Step 5: Back Up Files, Downloads and Documents Manually
Anything in your phone’s Downloads folder, saved documents, files from other apps, or anything not already synced to Google Photos or Google Drive needs to be backed up by hand before you reset your phone.
Using Google Drive: Open the Google Drive app and upload folders like Downloads, Documents and any other important files directly to your Drive. These will be available on any device where you sign in with the same Google account.
Using a laptop via USB: Connect your phone to a laptop with a USB cable. Select File Transfer mode when prompted on the phone. Open the phone's storage in File Explorer (Windows) or Finder (Mac), then copy the folders you want to keep: Downloads, Documents, DCIM (camera photos if not backed up via Google Photos), and the WhatsApp folder for any local media copies.
Using the Files by Google app: The Browse feature shows your internal storage folders. You can use it to identify which folders contain files worth saving before backing them up via Drive or USB.
Step 6: Confirm Passwords and Notes Are Safe
Passwords and notes are two types of data that are easy to forget about.
Passwords: If you save passwords through Google Chrome or the Google Password Manager, these are already synced to your Google account and will be available on your new phone as soon as you sign in. Go to Settings, then Google, then Autofill, then Google Password Manager and confirm your passwords are showing there. If you use a third-party password manager like LastPass or Bitwarden, confirm your vault is synced to the cloud through that app's settings.
Google Keep notes: Google Keep automatically syncs notes to your Google account. If you use Google Keep, your notes will be available on any device signed into the same account immediately after signing in.
Samsung Notes, Mi Notes, or brand-specific note apps: Notes stored in manufacturer note apps may be tied to a Samsung or Xiaomi account rather than to a Google account. Check whether these sync to the brand account or offer an export option. Export any important notes to Google Keep or another cross-platform service before factory resetting.
Contacts saved to phone storage only: Some older phones save contacts directly to the device rather than syncing them to Google. To check, open the Contacts app, go to Settings, and see where contacts are stored. If any are stored on the phone rather than the Google account, move or export them before resetting.
Step 7: Remove All Accounts Before Factory Reset
Removing your accounts from the phone before the factory reset is essential. If you skip this step, the phone will be protected by Factory Reset Protection (FRP) after the wipe, which means the buyer cannot set it up without entering your Google account credentials. This will make your phone unsellable.
Step 1. Remove your Google account. Go to Settings> Accounts> Google. Tap your account, then tap Remove Account. Confirm removal. Do this for every Google account added to the phone.
Step 2. Remove your brand account. On Samsung, go to Settings, then Accounts and backup, then Manage accounts, then Samsung account, and remove it. On Xiaomi, go to Settings> Mi Account, then sign out. On OnePlus, go to Settings> Accounts> OnePlus account, then sign out.
Step 3. Confirm no accounts remain. Go back to Settings, then Accounts, and check that no accounts are listed. The list should be empty before you proceed to factory reset.
Factory Reset Protection (FRP) lock: If you factory reset without removing your Google account, the phone locks itself and prompts you to enter your last Google account credentials during setup. The buyer will not be able to use the phone and will need to return it to you for the account to be removed. This is one of the most common issues in second-hand phone sales in India, causing significant delays and disputes.
Step 8: Factory Reset After Confirming All Backups
This is the last step, and there’s no going back. Make sure you’ve finished every backup before you do the factory reset.
Step 1. Go to Settings, then System, then Reset. The exact path is Settings, then General Management, then Reset on Samsung, Settings, then System, then Reset options on most Android phones.
Step 2. Tap Factory Data Reset or Erase All Data. Read the on-screen warning, which lists what will be deleted, and confirm you want to proceed.
Step 3. Enter your PIN or password if asked. Some phones require your screen lock credentials to perform a factory reset as a security measure.
Step 4. Confirm and wait for the reset to complete. The phone will restart automatically and go through the reset process. This takes one to five minutes. Do not interrupt the process by turning off the phone.
Step 5. Verify the phone boots to the setup screen. After the reset, the phone should turn on to the first-time setup screen, which asks for language and Wi-Fi selection. If it asks for a Google account to proceed (FRP screen), your account was not properly removed, and you need to sign in with your credentials to release it.
Final Verification Before Handing Over the Phone
Before you give your phone to the buyer or hand it to Cashkr for pickup, take a moment to do a final check.
Check the setup screen: The phone should display the initial setup screen that prompts you to select a language and connect to Wi-Fi. This confirms the factory reset was completed correctly.
Check there is no personal data on the home screen: Briefly go through the setup process past the first screen to confirm the home screen is empty, and no personal apps, photos, or contacts are visible.
Confirm no account is logged in: Go to Settings, then Accounts, and verify the list is empty. No Google account, no brand account, no personal account of any kind should be present.
Test the SIM is ejected: Remove your SIM card before the handover. The phone should be ready for the buyer to insert their own SIM.
Sell Your Phone on Cashkr After Backup
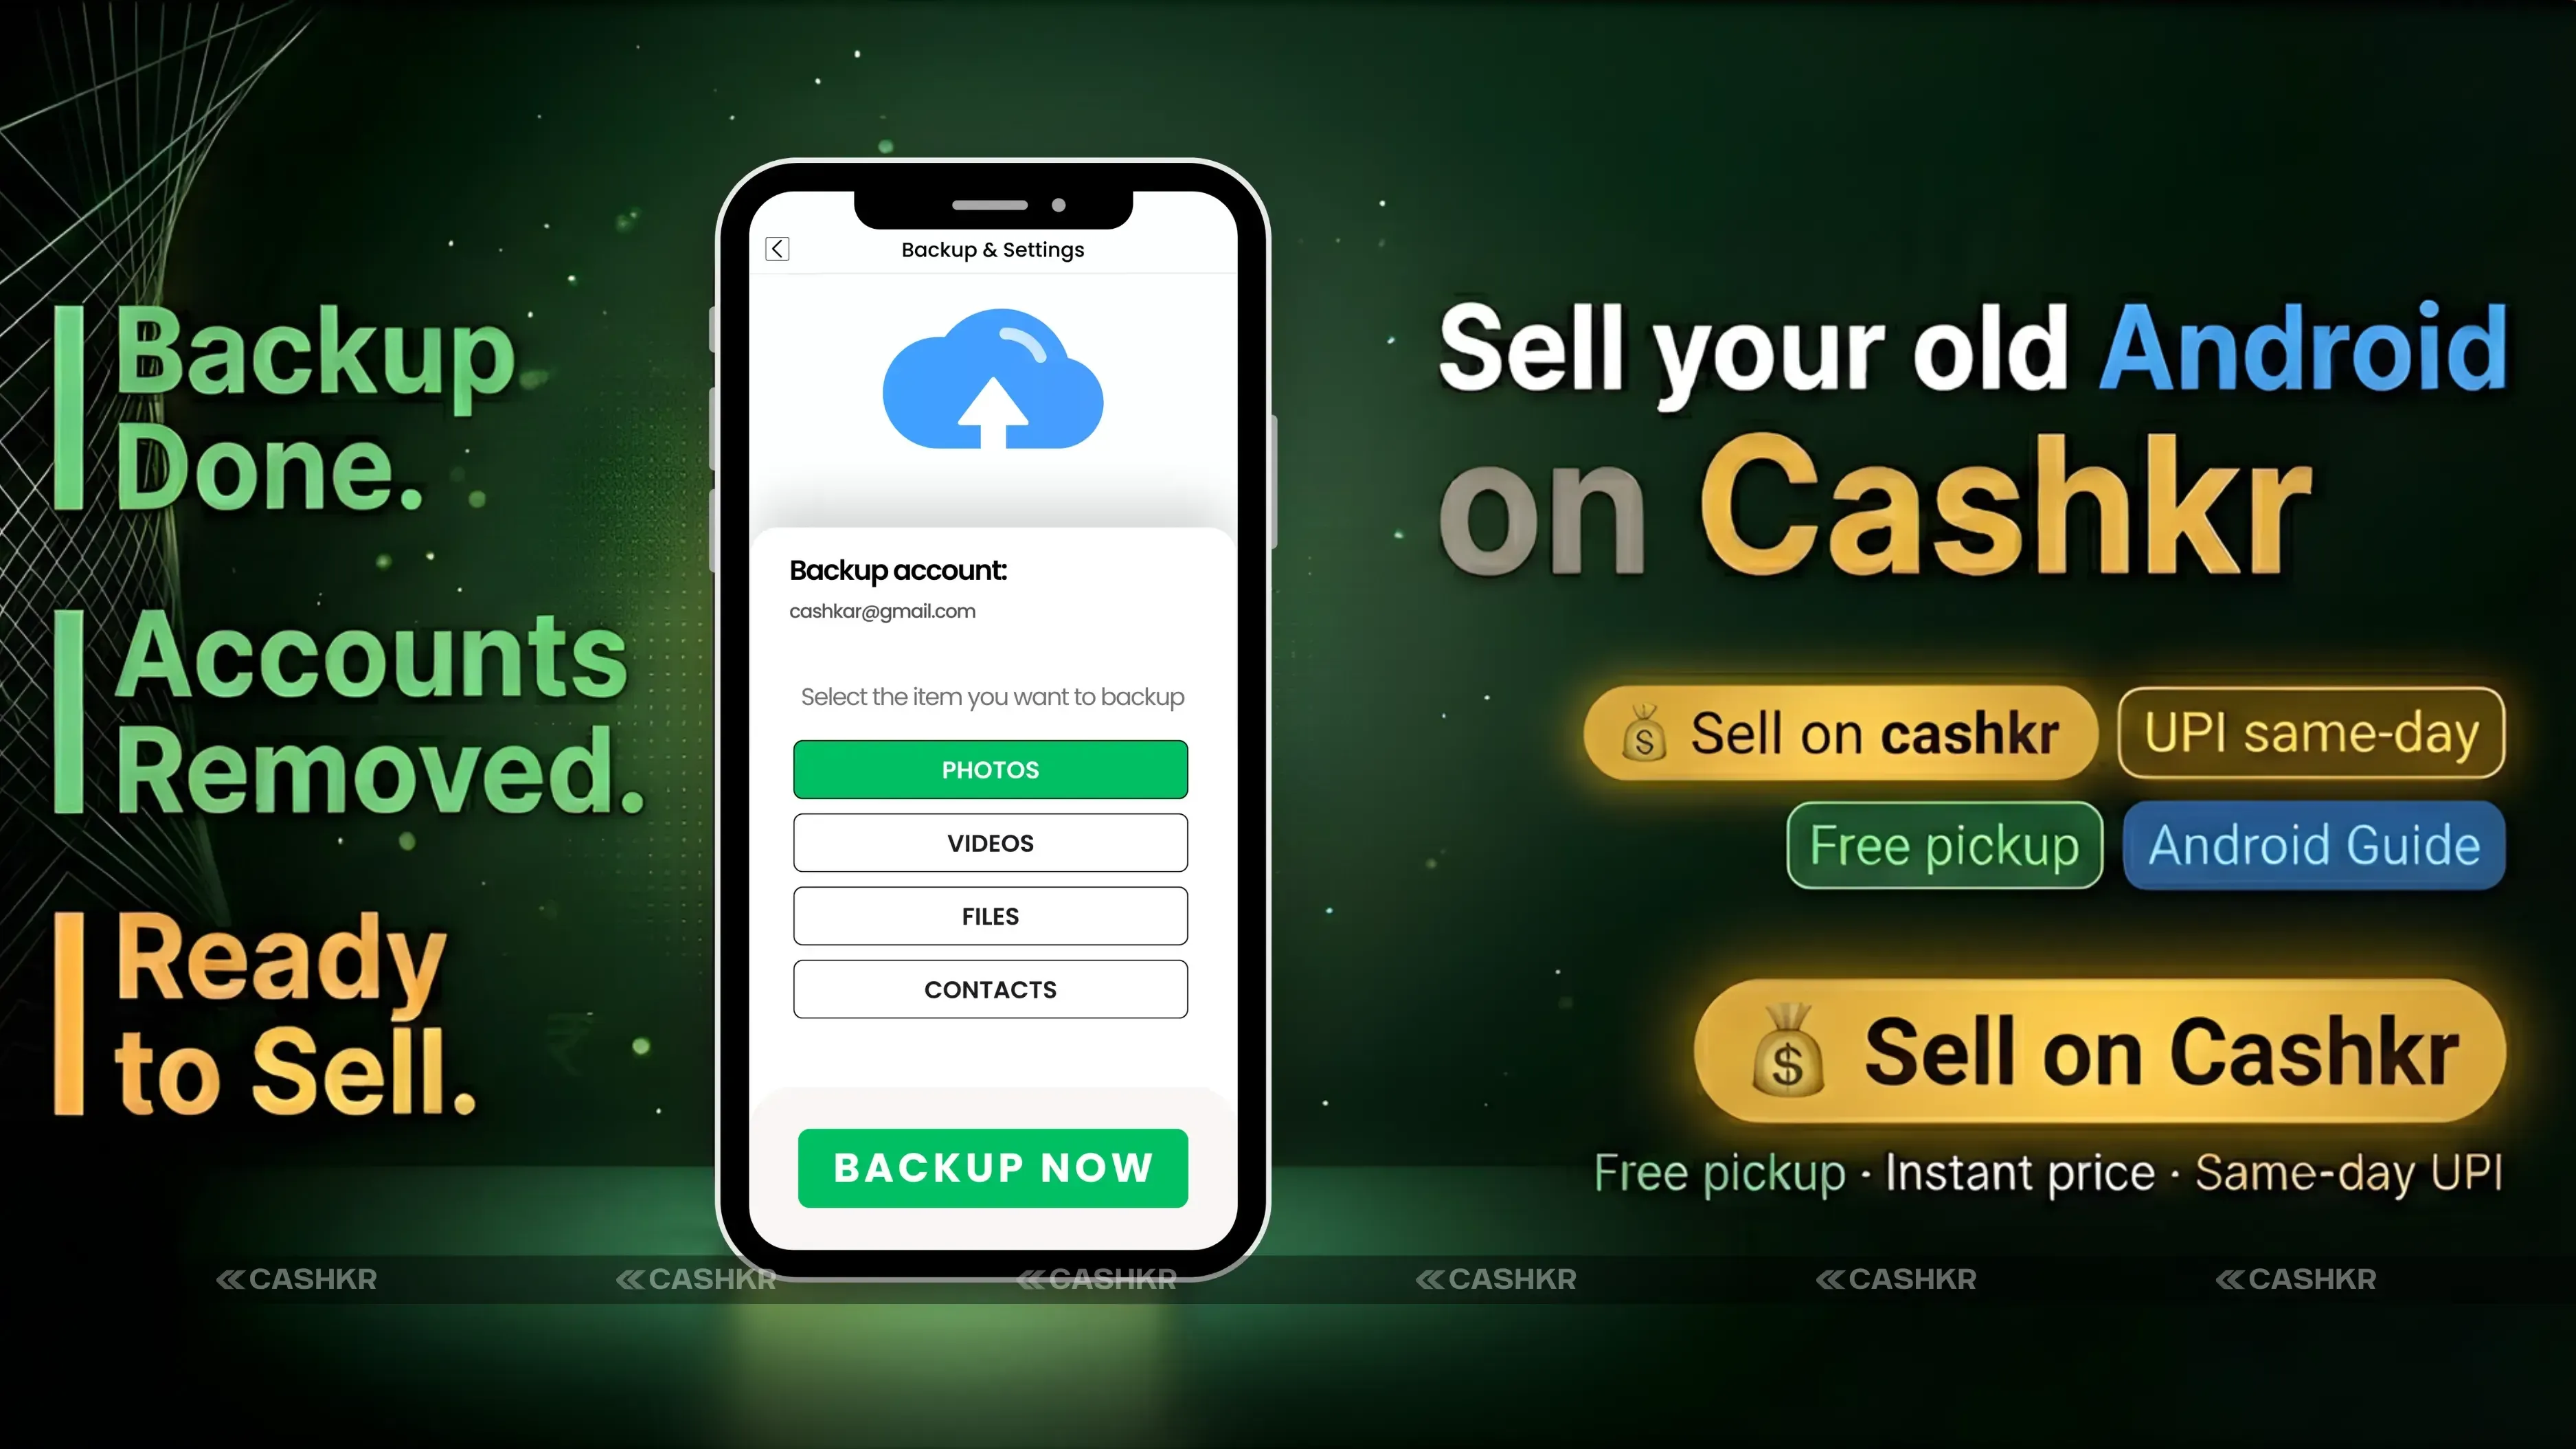
After you’ve finished your backup, reset your phone, and removed all accounts, Cashkr is the quickest way to sell your phone in India.
Cashkr is an Indian online platform for selling old electronics, offering instant price check, free doorstep pickup, certified data wiping, and payment directly to your UPI or bank account. The Cashkr team performs a professional data wipe as part of the pickup process, giving you and the buyer additional assurance that all personal data has been removed, even beyond the factory reset you performed. Getting a Cashkr quote before you start backing up can help you plan your schedule. The instant price check tells you how much your phone is worth, so you know what to expect before you spend time on the backup steps.
Sell your old phone on Cashkr for an instant price check, free doorstep pickup, certified data wiping, and direct payment to your UPI or bank account. If your phone is backed up, reset, and all accounts are removed, the process is quick, and there are no delays at pickup.
FAQs
1. What happens if I skip the Google Backup step before selling? Y
Our contacts, device settings, call history, app data, and Wi-Fi passwords will not transfer to your new phone automatically. You will need to re-enter everything manually. Contacts saved to phone storage rather than the Google account are permanently lost.
2. Can I recover WhatsApp chats after a factory reset without a backup?
No. WhatsApp chats are stored only on the device and in your Google Drive backup if you have activated it. After a factory reset without a backup, WhatsApp chats are permanently gone and cannot be recovered by WhatsApp, Google, or any third-party service.
3. What is Factory Reset Protection, and how do I avoid it?
Factory Reset Protection (FRP) is a security feature that locks the phone after a factory reset if a Google account was active on the device. After the reset, the phone asks for the last Google account's email and password during setup. To avoid this, remove your Google account from Settings> Accounts> Google before doing the factory reset.
4. How do I back up my Google Authenticator accounts?
Open Google Authenticator, tap the three dots, then Transfer accounts, then Export accounts. This creates a QR code you scan on your new phone with the same app. Always transfer to the new phone first before factory resetting the old one. Alternatively, enable cloud backup in the app settings if your version supports it.
5. Will Google Photos back up all my photos, including WhatsApp images?
Google Photos automatically backs up your camera roll when backup is enabled. However, WhatsApp images are stored in a separate folder and may not be included by default. In Google Photos settings, go to Backup, then Backup device folders, and ensure the WhatsApp folder is selected.
6. How long does a complete Android backup take?
It depends on how much data you have. Google account sync typically takes a few minutes. Google Photos backup can take anywhere from minutes to several hours, depending on how many photos and videos you have and your internet connection speed. WhatsApp backup usually takes a few minutes. Plan for at least an hour when connected to Wi-Fi to ensure everything completes.
7. Do I need to back up the apps themselves or just the data?
Individual app files do not need to be backed up because you can reinstall them from the Play Store. What matters is the app data, which includes your settings, progress, and saved information within each app. Google Backup automatically covers app data for most apps.
8. What should I do if my phone has Samsung or Xiaomi account data on it?
On Samsung, sign out of the Samsung account in Settings> Accounts and backup> Manage accounts. On Xiaomi, sign out of Mi Account in Settings, then go to Mi Account. On OnePlus, sign out in Settings > Accounts > OnePlus account. Leaving these accounts active can cause brand-specific FRP locks on top of Google FRP.
9. Is a factory reset enough to protect my personal data?
A factory reset erases all user-accessible data and is sufficient for most resale purposes. Cashkr performs a certified data wipe as part of its pickup process, which provides an additional layer of assurance beyond the factory reset. This certified wipe meets professional standards for data erasure.
10. How do I sell my phone quickly after completing the backup?
After completing backup, account removal, and factory reset, get an instant price check on Cashkr, schedule a doorstep pickup at a time that suits you, hand the phone to the Cashkr agent, and receive payment directly to your UPI or bank account. No need to meet buyers in person, negotiate prices, or wait for payment.
If you want to sell your old devices then, click here.